
Can Engineered Hardwood Be Sanded and Refinished in NZ?
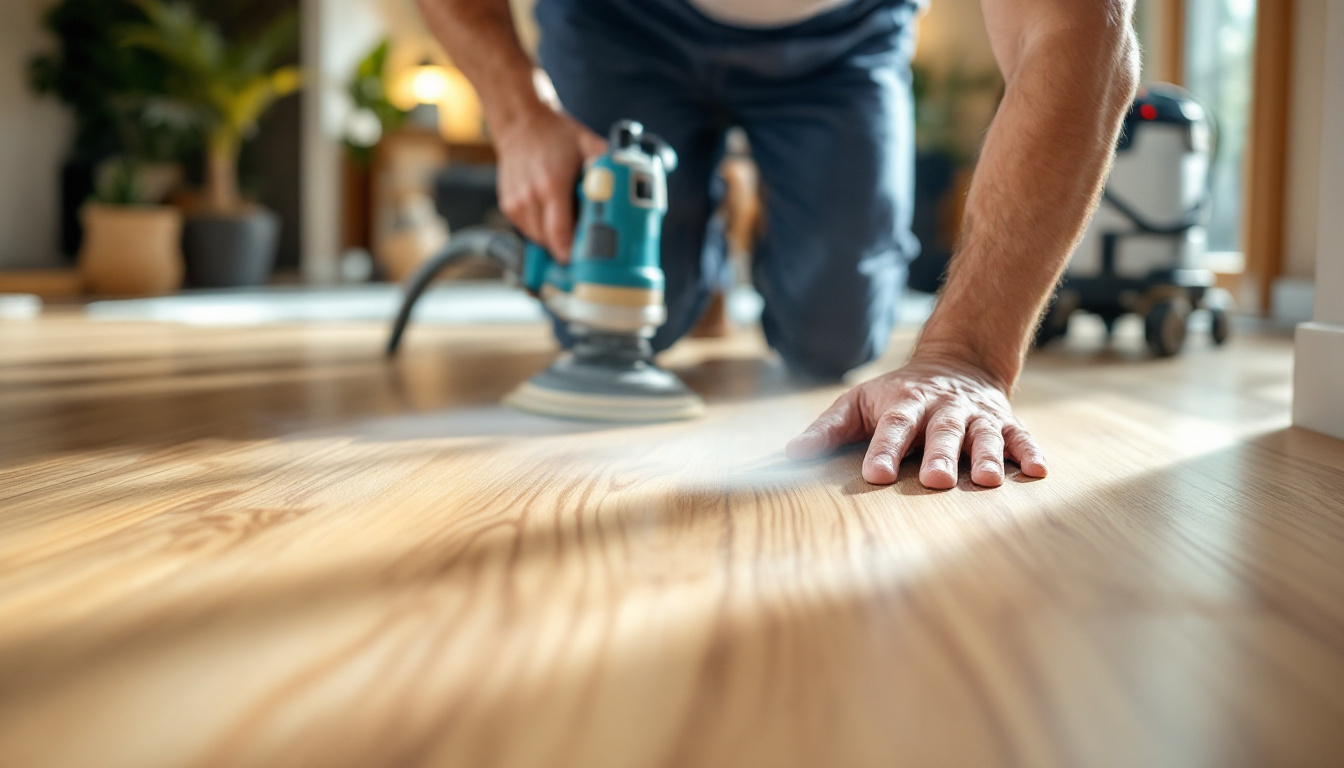
Yes, some engineered hardwood floors can be sanded and refinished. Others cannot. The deciding factor is not simply whether the surface is “real wood”; it is whether enough sound wear layer remains above the core and joints after accounting for the floor’s profile, previous sanding, damage and the amount of material the proposed process will remove.
Starting with a drum sander and hoping for the best is a brutal way to discover a thin veneer. Sanding through the oak face exposes the core and turns a repair into replacement. The safe process begins with identification and measurement, not machinery.
Need to identify an existing floor or plan a replacement? Review Power Dekor’s engineered hardwood flooring range and request a product or site assessment before choosing a treatment.
The three treatments people often confuse
“Refinishing” is commonly used for several very different jobs. Clarifying the goal can save unnecessary timber removal.
Deep cleaning
Deep cleaning removes soil, residue and incompatible maintenance products without abrading the timber to bare wood. A cloudy or sticky-looking floor may have cleaner build-up rather than failed coating. The cleaning system must be compatible with the existing finish, and excess water or steam should not be used on a real-wood floor.
Screening, abrading or maintenance recoating
A professional may lightly abrade a sound existing coating so a compatible new coat can bond. This is not the same as sanding the floor to bare timber. It can address general dullness and fine surface wear, but it will not remove deep scratches, black water staining, cupping or coating contamination that prevents adhesion.
Full sanding and refinishing
The National Wood Flooring Association defines refinishing as sanding a previously finished floor to bare wood, then applying new stain or finish. This removes more material and can reset the appearance more substantially, but it demands sufficient remaining wear layer and an experienced operator.
The least aggressive treatment that solves the actual defect is usually the smartest one. Timber cannot be put back after sanding.
Check 1: prove that the floor is engineered hardwood
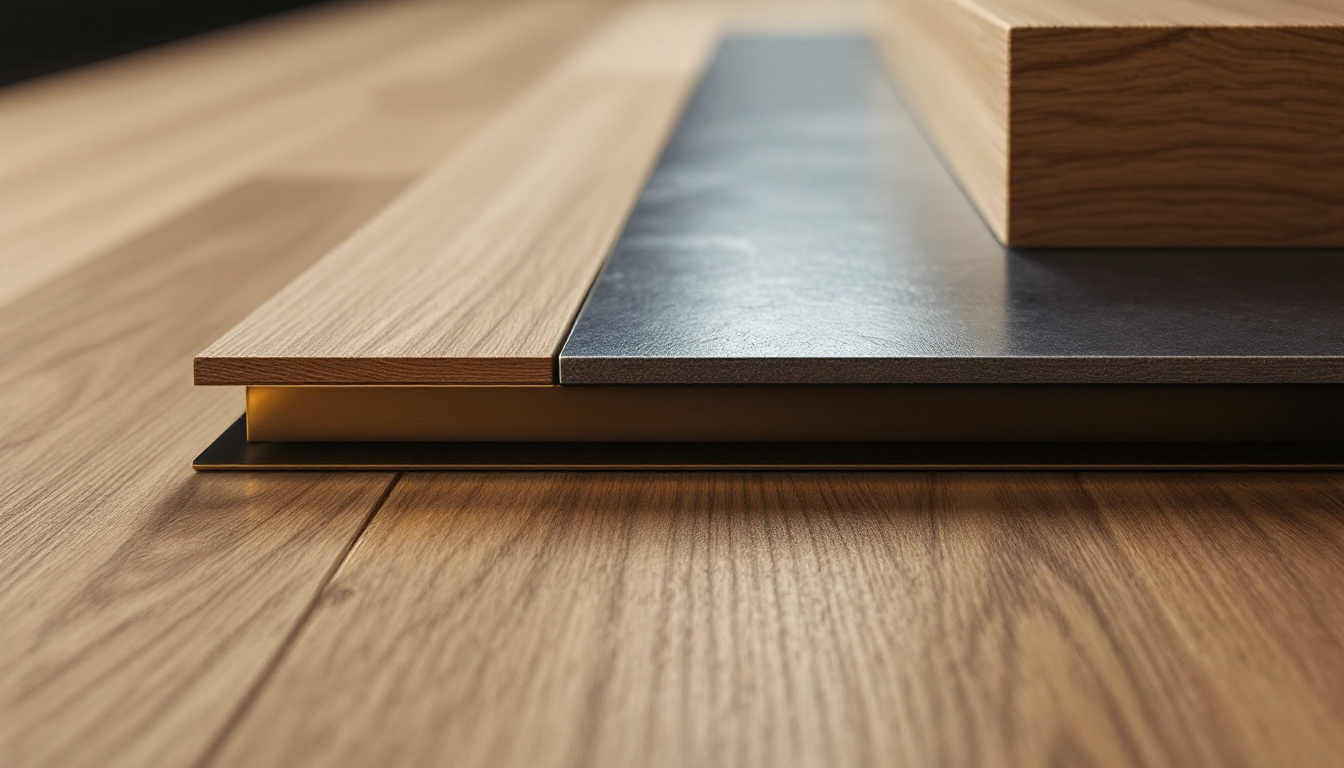
A wood-look surface might be engineered hardwood, solid timber, laminate, hybrid flooring or vinyl plank. Only the first two have a genuine timber surface that may be sandable.
Look for spare boards, invoices, product labels, specification sheets or installation records. An exposed edge at a floor vent, threshold or removed trim may show the layers, but do not cut into a live floor merely to investigate it. A flooring professional can often distinguish constructions from an accessible edge and surface details.
Power Dekor engineered flooring uses a genuine European oak surface over a multi-layer core, and each product page, such as Oak Mocha, lists its wear layer. That makes it real timber, but the category description alone still does not authorise sanding. The exact product and current remaining wear layer control the decision.
If the floor is laminate, conventional sanding will destroy the decorative surface. Stop there and assess local board replacement or full replacement instead.
Check 2: find the original specification
The most useful document is the product data sheet showing total thickness, wear-layer thickness, surface texture, bevel geometry, finish and installation method. The warranty and maintenance guide may also state whether sanding, recoating or particular chemicals are permitted.
Do not rely on a generic claim such as “engineered floors can be sanded three times”. Products differ, sanding methods differ and previous work may already have removed material. A number repeated across retailer blogs is not evidence about your floor.
The NWFA Engineered Wood Flooring Refinishable Program exists precisely because the market is confusing. Its voluntary certification identifies qualifying products with wear layers thick enough for refinishing. The programme sets minimum original wear-layer benchmarks of 3.2 mm for unfinished smooth engineered flooring and 2.5 mm for factory-finished smooth or sculpted flooring, measured at the lowest point for textured products.
Those are certification benchmarks, not a promise that every floor above a nominal number is currently safe to sand. An installed floor may have previous sanding, bevels, distressing, local low spots or damage that reduces the useful thickness.
Check 3: measure the remaining wear layer at the right place
Original thickness and remaining thickness are different facts. An assessor needs to understand how much sound timber remains above the core and critical profile features.
Measurements may be possible at a spare board, threshold, floor vent, heating register or another legitimately exposed edge. The lowest relevant point matters, especially on brushed, hand-scraped or distressed surfaces. Flattening a textured floor can require sanding the surrounding timber down to the deepest feature, consuming more material than a smooth floor.
Board bevels also matter. Heavy sanding may reduce or remove bevels unevenly, changing the visual line between boards. Sanding too close to the tongue-and-groove joint can weaken the board even before the core is visibly exposed.
This is specialist judgement. A homeowner can gather records and photographs, but a professional should make the final sanding decision.
Check 4: identify why the floor looks worn
Sanding treats the surface. It does not cure the condition that damaged it.
Fine scratches and dull traffic lanes
These may be confined to the coating. Cleaning or a maintenance recoat may be enough if the coating is compatible and has not worn through to bare timber.
Deep scratches and dents
A full sand may reduce shallow damage, but deep gouges cannot always be removed without taking too much wood from the entire floor. Local board repair, colour blending or accepting some character may be safer than chasing one mark until the wear layer disappears.
Grey or black staining
Discolouration can indicate that water has passed through the finish into the timber or reacted with contaminants. Sanding may not remove a stain that penetrates deeply. The moisture source must be found first, and affected boards may need replacement.
Cupping, crowning or board movement
BRANZ explains that cupping results from different moisture levels on the two faces of a board, with high underfloor moisture a common cause of concave cupping. Its first instruction is to locate and address the moisture source. Boards may change shape again as they dry.
Sanding a cupped floor flat while it is still wet can create the opposite distortion after moisture normalises. Do not cosmetically grind away evidence of an unresolved building problem.
Peeling, flaking or cloudy finish
These symptoms can result from coating failure, contamination, moisture or incompatible cleaning products. The finish system needs diagnosis before selecting an abrasive and new coating.
Check 5: investigate the subfloor and moisture source
New Zealand homes present varied substrates: concrete slabs, suspended timber floors, plywood overlays and existing board floors. Each can create different moisture and movement risks.
BRANZ identifies high slab moisture, insufficient moisture-vapour protection and a mismatch between flooring moisture and indoor conditions as causes of swelling, cupping, buckling and boards lifting. Its research on suspended floors also found that inadequate ventilation can rapidly increase moisture in structural framing.
Before refinishing, check for leaks, wet cleaning practices, damp subfloors, poor ventilation, indoor humidity changes and exterior water entry. If a dishwasher, fridge, plumbing fixture or plant pot has leaked, drying and moisture verification come before coating.
A new finish may slow surface moisture entry, but it is not a waterproofing repair. Sealing the top of a damp floor can trap the real problem out of sight.
Check 6: understand the installation method
How the floor is fixed affects repair options and sanding behaviour. A glue-down engineered floor, mechanically fixed board and floating floor do not respond identically under sanding equipment.
A floating floor can have vertical movement at joints if the substrate is uneven or the locking system is damaged. Heavy sanding equipment on a moving floor can produce an inconsistent cut. Local board replacement can also be easier or harder depending on locking direction, adhesive and access.
The installation method should be confirmed from records or inspection. If widespread movement, hollow spots, adhesive failure or broken joints exist, address those before investing in a new finish.
For replacement areas or future projects, Power Dekor’s Auckland flooring installation service assesses substrate flatness, moisture and the approved method for the selected board.
Check 7: decide whether the existing colour can realistically change
Full sanding can remove factory colour and expose raw timber, potentially allowing a different stain. However, the result is not infinitely controllable.
Oak’s natural grain and tannins influence colour. Old stain may remain in deeper grain, bevels and textured areas. Putty, repairs and replacement boards can accept stain differently. A dramatic shift from very dark to pale may expose colour variation that a darker finish previously hid.
Prepare representative test areas or sample boards with the proposed sanding sequence and complete coating system. Approve the result under the home’s daylight and artificial light before committing the entire floor.
Factory-applied finishes may use processes that cannot be replicated exactly on site. Refinishing can renew the floor beautifully without reproducing the original factory surface in every detail.
Check 8: plan dust, edges, coatings and cure time
Professional dust-containment equipment reduces airborne dust but does not make the job dust-free. Rooms need to be cleared, openings managed and heating or ventilation handled according to the coating requirements.
Edges, corners, stairs, doorways and areas beneath fixed cabinetry require different tools from the main field. Uneven edge sanding is one of the fastest ways to create visible picture-framing around a room.
The selected coating determines odour, drying time, return-to-service timing, sheen, maintenance and compatibility with the existing timber. Waterborne, oil-modified and other systems have different application requirements. Follow the coating manufacturer’s complete system rather than mixing primer, stain and topcoats by convenience.
“Dry to touch” does not necessarily mean ready for furniture, rugs, pets or full cure. The contractor should provide a written programme for foot traffic, furniture replacement, rug placement and cleaning.
Check 9: compare refinishing with local repair or replacement
Full-room refinishing is not automatically the most economical or least disruptive remedy. Compare three scopes:
- Maintenance treatment: clean and recoat when wear is primarily in a compatible surface finish.
- Local repair: replace isolated water-damaged or deeply gouged boards, then blend the repair where feasible.
- Full sand and refinish: remove the complete finish when the wear layer and floor condition safely support it.
Replacement becomes the responsible recommendation when the wear layer is too thin, the core is exposed or swollen, joints are failing, movement is widespread or contamination cannot be removed safely.
If replacing an old engineered floor, keep a labelled spare pack from the new batch. It provides known product information and makes future local repairs more realistic. Timber colour changes with age and light, so a new spare may still require blending, but it is far better than hunting for a discontinued profile years later.
A homeowner’s pre-quote checklist
Collect this information before contacting a flooring professional:
- approximate installation date
- brand, range and product name, if known
- invoice, data sheet, warranty and maintenance guide
- spare-board photographs showing the edge profile
- room dimensions and affected areas
- close photographs in daylight and side lighting
- history of leaks, wet cleaning or dampness
- any previous sanding or coating work
- installation method and substrate, if known
- whether boards move, sound hollow or change seasonally
Ask the assessor to document:
- flooring construction
- remaining wear-layer evidence
- moisture readings and suspected source
- whether the issue is coating wear, timber damage or substrate movement
- proposed abrasion sequence
- test-area result
- coating system and cure schedule
- areas that may need board replacement
If the answer is simply “engineered wood can always be sanded once”, get a better assessment.
What routine care can postpone major refinishing?
Regular dry cleaning removes abrasive grit before it dulls traffic paths. Protective pads reduce concentrated scratching under chairs and furniture. Prompt spill cleanup limits the time moisture sits at board joints.
Use only a cleaner approved for the specified finish. Avoid steam mops, flooding, abrasive household powders and improvised oil or wax products unless the flooring manufacturer explicitly requires them. An incompatible polish can create adhesion problems when the floor later needs recoating.
Watch high-load areas such as entrances, kitchen work zones and chair paths. A planned maintenance coat before the finish wears through can preserve the timber beneath and avoid a more aggressive bare-wood sand.
Sunlight can also change timber colour over time. Move rugs and furniture periodically during the early life of the floor where practical, while recognising that natural ageing cannot be eliminated entirely.
Frequently asked questions
How many times can engineered hardwood be sanded?
There is no reliable universal number. It depends on the original and remaining wear-layer thickness, texture, bevels, previous sanding, damage and the process proposed. Measure and assess the actual floor instead of relying on a generic count.
What wear-layer thickness is needed for refinishing?
The NWFA voluntary certification programme uses minimum original benchmarks of 2.5 mm for factory-finished smooth or sculpted engineered flooring and 3.2 mm for unfinished smooth products. These benchmarks do not automatically prove an installed floor is safe to sand; remaining thickness and condition still need assessment.
Can scratches be removed without sanding to bare wood?
Fine scratches confined to a sound coating may respond to cleaning, local repair or a compatible maintenance recoat. Deep scratches through the finish may require board repair, full refinishing or acceptance of some residual mark.
Should a cupped engineered floor be sanded flat?
Not until the moisture source is identified, corrected and the floor has stabilised. Sanding wet, distorted boards flat can create a new distortion after they dry.
Can engineered flooring be stained a different colour?
Potentially, if it can be safely sanded to clean timber. Existing colour in grain and bevels, repairs, natural variation and coating compatibility affect the result, so a representative test area is essential.
The safest answer comes from evidence
Engineered hardwood is designed to combine a real timber surface with a more stable layered structure. That real surface may be renewable, but it is finite. The correct sequence is identify, document, measure, diagnose, test and only then sand.
Done properly, refinishing can extend the useful life of a suitable floor. Done by assumption, it can erase the very layer you were trying to save.
Get the floor identified before choosing the machine. Explore Power Dekor engineered hardwood flooring and request an assessment for an existing floor, replacement boards or a new Auckland project.