
Laminate Flooring Nosing in NZ: What to Use at Stairs, Steps and Floor Edges

Laminate flooring nosing is the finished edge where a laminate floor meets the front of a stair, a step down or another exposed change in level. It is not decorative trim added at the end of the job. The nosing has to suit the floor thickness, cover or integrate with the exposed edge, provide a deliberate transition and remain secure under repeated foot traffic.
The practical answer is to select the stair detail before the laminate is installed. Confirm the substrate, finished floor height, stair geometry, laminate construction and compatible nosing profile as one system. Trying to find a strip after the boards have been cut can leave an awkward lip, a weak fixing zone or a colour mismatch in the most visible part of the floor.
What does laminate stair nosing actually do?
A stair nosing finishes and protects the leading edge of a tread. At the top of a stair it may also connect the upper laminate floor to the first exposed edge. On a single internal step, it creates a defined termination rather than leaving the laminate core visible. The detail affects appearance, but it also affects how the edge feels underfoot and how well the adjoining materials remain supported.
Laminate planks are designed to work as a floor surface. Their cut edges are not intended to be left open on a stair. A purpose-selected profile protects that edge and creates a controlled junction. Depending on the system, a profile may overlap the laminate, meet it more closely for a flush appearance, or form part of a separate stair-tread assembly. Those options are not interchangeable simply because their top colours look similar.
Nosing should also be distinguished from a flat transition strip. A transition covers a joint between surfaces, often at a doorway. A stair nosing wraps or defines an exposed leading edge. Using a doorway trim on a step because it happens to be available is the kind of shortcut that looks cheap and can create an unsuitable edge.
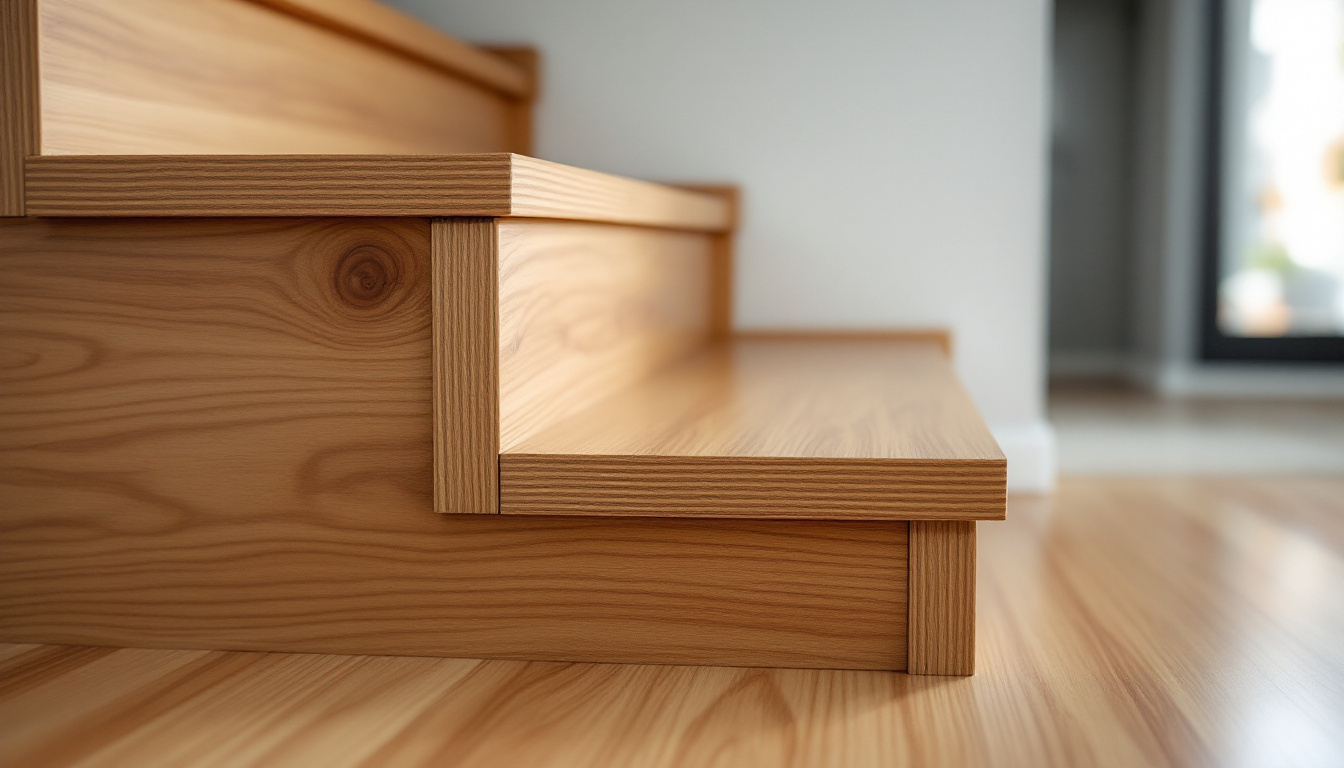
Should the nosing be flush or overlap the laminate?
Neither format is universally best. A flush detail can create a clean visual line, but it usually demands tighter coordination between the tread, substrate, flooring thickness and profile. An overlap profile can tolerate a different type of junction and may cover the cut edge, but its raised shape needs to be considered at a walking surface. The correct option is the one approved for the selected flooring and suited to the actual stair detail.
Start by drawing the junction in section, even if it is only a simple site sketch. Mark the structural tread or landing, any levelling or underlay layer, laminate thickness, exposed riser and proposed nosing. This reveals whether the profile will sit proud, leave an unsupported void or clash with an existing stair edge. It also shows whether adjoining doors, balustrade posts or skirtings affect the installation sequence.
A photograph of a finished nosing is not enough to specify it. The hidden section matters. Two profiles that look almost identical from above may use different bases, fixing tracks or allowances. Obtain the current profile drawing and installation instructions before cutting the floor.
Can the same laminate plank be wrapped over a stair edge?
Do not assume so. Standard laminate planks and locking joints are made for an approved floor installation, not for improvising a bent or unsupported stair edge. A stair needs a specified tread-and-nosing solution. That might use matching components, a compatible timber profile, a metal profile or another designed assembly, depending on the product and the stair.
The exposed edge receives concentrated traffic. It cannot rely on a thin decorative surface projecting beyond support. Nor should a click joint be positioned at the leading edge without the selected system explicitly allowing that detail. The installer needs enough stable substrate to fix the nosing as instructed and enough information to place board cuts and joints sensibly.
If the visual goal is a continuous timber look, discuss it before ordering. Power Dekor lists aluminium flooring profiles for edges and transitions, but suitability and colour coordination still need to be confirmed against the chosen floor and stair. “Oak” is a material description, not a guarantee that two finishes will be identical.
How closely should nosing match the floor colour?
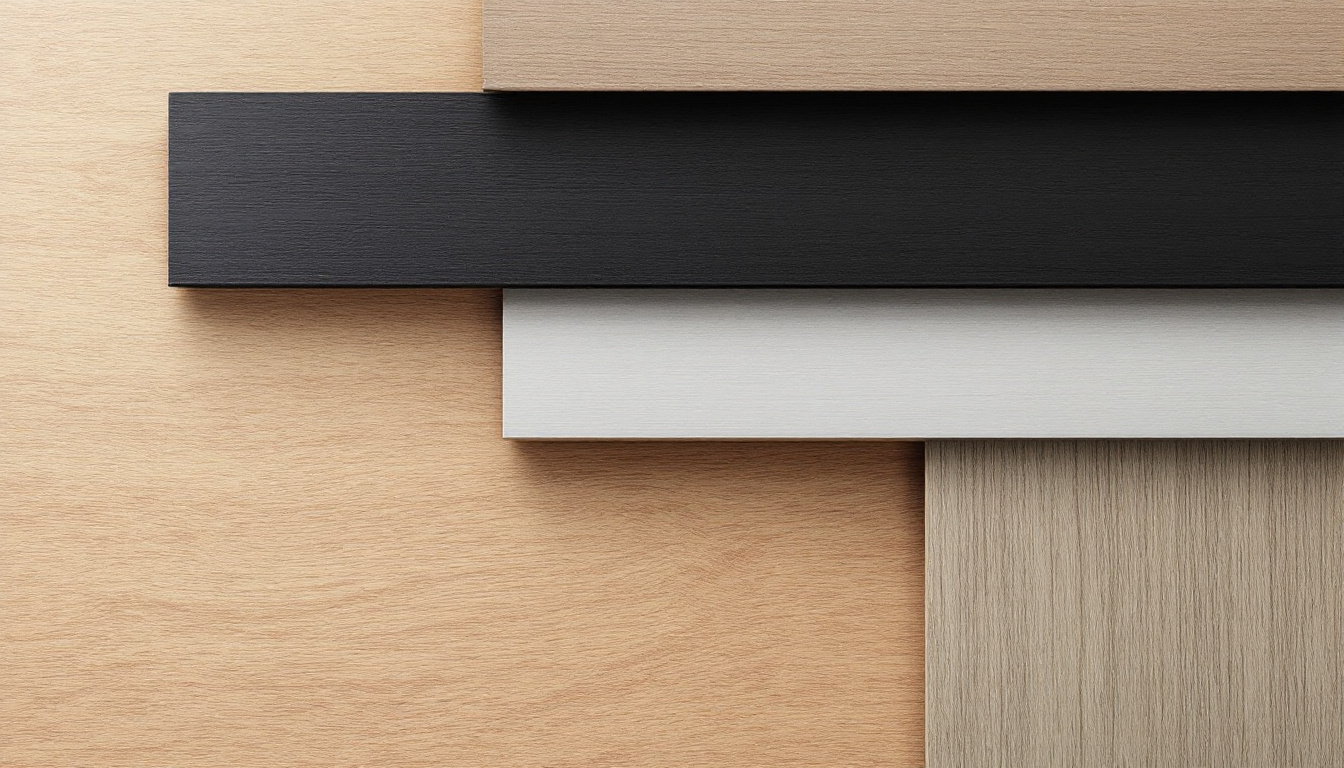
There are three honest approaches: close match, deliberate contrast or a neutral architectural finish. A close match keeps attention on the floor, but timber and timber-look surfaces can vary with grain, gloss, texture and lighting. A contrast makes the edge intentional. A neutral metal or dark profile can work where the rest of the interior already uses that finish.
Do not approve colour from a phone screen. Compare physical samples beside the actual laminate in the room's daylight and evening light. View them from above and from the stair approach. A minor difference that disappears on a flat sample can become obvious when one surface is horizontal and the other turns down the edge.
Consistency matters more than a forced near-match. If several stairs or split levels are visible together, use the same detail unless the architecture gives a clear reason to change. Mixing profile shapes because one colour was temporarily unavailable makes the installation look accidental.
What must be measured before ordering?
Measure the actual stair, not a remembered plan dimension. Existing homes may have finishes, packers or previous alterations that change the available depth. Record the full edge length, floor thickness, underlay or adhesive build-up, tread depth, riser position and any return at an open string or side edge. Identify whether the top landing, individual treads or a single step need treatment.
Also check where the profile will end. A straight nosing between two walls is different from an exposed end that needs a return or finished cap. Corners, winders and curved stairs are specialist details. Balustrade bases can interrupt the fixing route. These are design inputs, not annoyances to discover while the adhesive is open.
- Confirm the exact laminate product and installed thickness.
- Identify the structural substrate and any existing finish to be removed.
- Measure every edge separately and note exposed ends or turns.
- Check nearby doors, skirtings, balustrades and floor transitions.
- Obtain the selected profile's section drawing and fixing instructions.
- Dry-check physical colour samples before the order is final.
When should nosing be installed?
The detail should be selected before flooring starts, but the physical installation sequence depends on the profile. Some systems need a base or fixing component positioned before the adjoining boards. Others are fitted after accurate board cuts have been made. Follow the current instructions for the chosen system rather than assuming all trims clip on at the end.
The substrate must be clean, sound, dry and able to accept the specified fixing method. A nosing cannot compensate for a loose tread, crumbling edge or moving substrate. Repair the underlying stair first. Where adhesive is specified, surface preparation, adhesive choice, open time and curing conditions matter. Where mechanical fixings are specified, their location must avoid damaging hidden services and must provide secure engagement.
Keep expansion requirements in the flooring plan. A floating laminate floor must remain able to behave as its manufacturer intends. Pinning a floating field in the wrong place with a trim or fixing can create a new problem while solving the edge. This is one reason the profile, floor and installation method must be treated as a system.
What are the common failure signs?
Movement, clicking, a lifting edge, visible gaps, cracking, an unsupported hollow area or a profile that has shifted are reasons to stop and investigate. A cosmetic bead of sealant is not a structural repair. The cause may be a failed fixing, inadequate substrate, incorrect profile, damaged floor edge or movement that was never accommodated.
Sharp damage or a loose component at a stair should be isolated promptly because the location is used under load. Avoid repeatedly walking on it while waiting for a repair. Photograph the condition and gather the product and installation records. An installer can then assess whether the profile alone can be replaced or whether adjoining boards and the substrate need work.
Small visual gaps may have a different cause from physical movement, so do not diagnose from appearance alone. The important distinction is whether the nosing remains correctly supported and secured. If it does not, the repair needs to address the assembly underneath.

Should stair nosing be a DIY decision?
A competent renovator can measure and compare profiles, but stair edges are unforgiving. The cut is visible, the geometry may be irregular and the component is repeatedly loaded. If the stair requires substrate alteration, returns, several connected edges or coordination with a balustrade, professional measurement is the sensible choice.
The risk is not that nosing is mysterious. It is that a small detail controls several interfaces at once. Flooring thickness affects profile position; profile position affects the tread edge; the tread edge affects the approach to the stair. A rushed decision can waste boards and still leave a compromised result.
For a broader view of site preparation, sequencing and professional installation, read Power Dekor's flooring installation service page. Take the laminate sample, stair photographs and basic measurements to the consultation so the discussion starts with the real junction.
The decision in one sentence
Choose the laminate and nosing together, verify their section against the actual stair, and install the edge as a specified assembly. That sequence is less glamorous than choosing colour first, but it is how the finished stair avoids looking like an afterthought.
Frequently asked questions
What is laminate flooring nosing?
It is a purpose-selected profile or assembly that finishes the exposed leading edge where laminate meets a stair, step or change in level. It protects the cut edge and creates a controlled transition.
Can I use a normal transition strip on a stair?
Do not assume a flat transition is suitable. Stair nosing is designed for an exposed leading edge, while a transition normally covers a joint between surfaces. Use a component approved for the actual stair detail.
Does stair nosing have to match laminate exactly?
No. A close match, deliberate contrast or neutral architectural finish can work. Compare physical samples in the room and keep the profile shape consistent across connected stairs.
When should nosing be selected?
Select it before installation and before board cuts are planned. The profile section, flooring thickness, substrate and fixing sequence need to be coordinated.